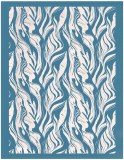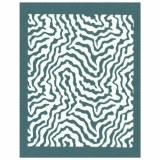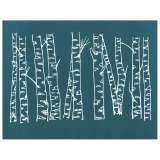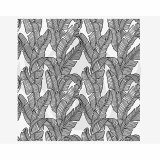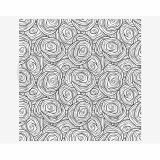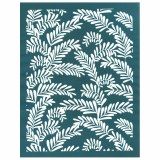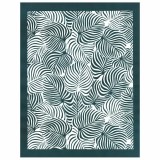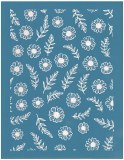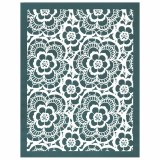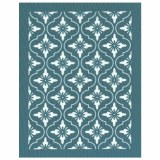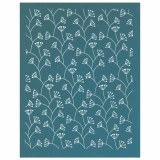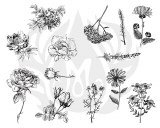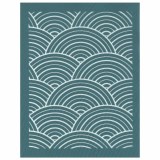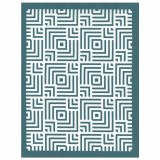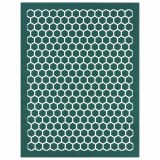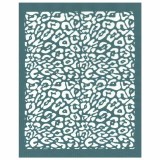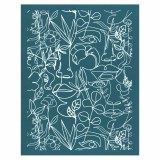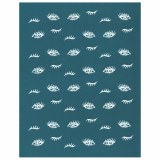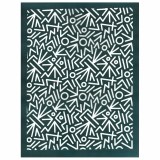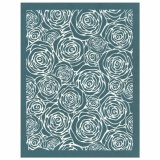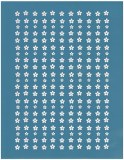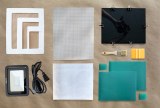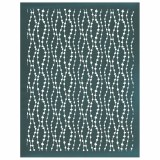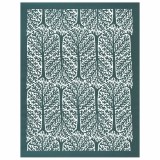
Introducing Designer Silk Screens by Mayco!
Printing on clay has been increasingly popular, and here at The Ceramic Shop, we carry everything you need to try out these cool, eye-popping methods! Our goal is to make new techniques accessible and manageable for everyone from beginners just figuring out what they like to do, to serious studio potters who just want to try something new.
How to use silkscreens:
• Use a permanent marker to draw a circle around the design on your silk screen. When applying your silkscreen medium -- whether that's an underglaze or an oxide -- be sure to extend it to the circle to ensure you cover the entire design.
• Add your Silkscreen Medium a little bit at a time to your color. Mix slowly - remember, you can always add more! If the mixture gets too thick because you added too much Silkscreen Medium, don't worry -- just add more color.
• Use a squeegee to apply your inking mixture to larger areas. For smaller areas, your fingers will work just fine!
• You can use tape to hold your screen in place while you apply your color mixture.
• Before you remove your screen after squeegeeing on your image, you might want to test the crispness of your edges or make sure that your color is getting applied in the proper thickness. To do so, carefully lift up one edge of your screen to see how the image is transferring before removing it completely -- lining up a detailed image after you fully remove it from the surface of your piece can be very difficult!
• Keep a bowl or bin of water nearby and place used screens in it immediately after screening to prevent the color mixture from drying on the screen. Soaking the screen will make it easier to clean. Pat screens dry and allow to fully dry before the next use.
• Combine screens on one piece to create depth, using lighter colors for the background and darker colors for the foreground.
• Add color to your design! You can do this by screening in black, and then filling the images in with color (from washes or underglazes). You can also screen in color for a different look.
• Using a notebook or binder, store screens and paper images in a clear insert. This keeps the screens flat and allows customers or clients to easily choose their image when they visit your studio.
Check out the cool silk screens we have below, and most importantly, have fun!


