Wet Mixing Dry Glaze
How to Wet Mix Your Dry Glaze
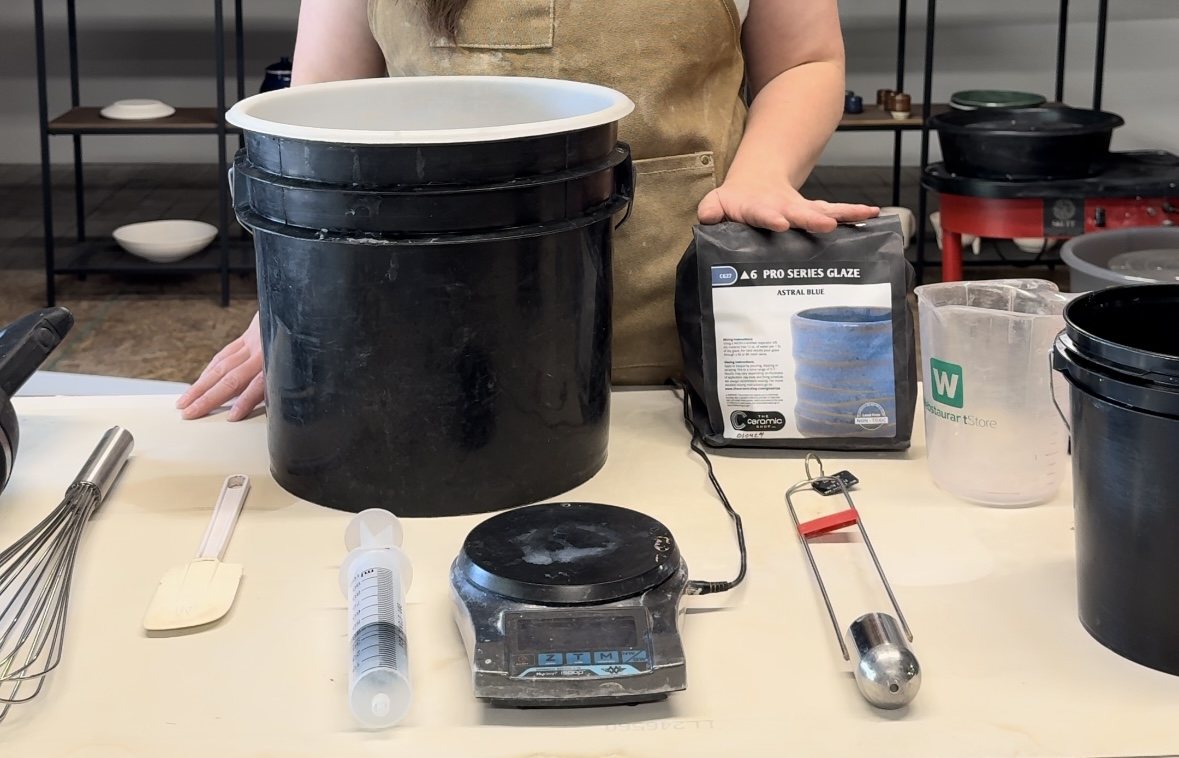
To wet mix dry glaze you will need the following items:
- 2-3 buckets
- 60 - 80 mesh sieve
- NIOSH certified respirator or disposable N95
- water
- drill mixer / immersion blender/ balloon whisk
- spatula
- latex/nitrile gloves
Optional / recommended:
- Gram scale
- 100ml syringe
Glaze Room Equipment:
https://www.theceramicshop.com/store/department/14/glaze-room/
The Ceramic Shop Pro Series Glazes are designed for dipping, pouring and can be thinned for spraying. They are available in 6 pound and 25 pound sizes. 6 pounds of glaze makes about a gallon, while 25 pounds makes a little over 4 gallons. Every glaze in the Pro Series line is a unique recipe and will need different amounts of water for an ideal consistency. Variation in clay body, firing temperature, and thickness of glaze application can have an effect on glaze results. Because of this, the recipes can be adjusted to fit the application conditions and we provide a recommended specific gravity for each of our glaze as a starting point.
Specific Gravity is the measurement we use to determine how much water is in the glaze. By measuring the weight of 100 mL of the wet mixed glaze, we can compare that against the known weight of 100 mL of water which weighs approximately 100 grams. Since glaze particles are heavier than water, the added mass will increase the weight without changing the volume.
An easy way to think about this is the higher the specific gravity number the less water is needed and the lower the specific gravity number more water is needed. By using a gram scale and a 100ml syringe, you are able to dial in the reading to a high degree of precision. Our glazes have a specific gravity range from 1.35 (135 grams) to 1.6 (160 grams). There are other methods to measure the specific gravity, however we have found this method to be the easiest and simplest to use on small and large batches of glaze alike.
To achieve these specific gravity measurements our glazes typically take 10-12 ounces of water per pound of glaze. This is approximately equal to 8-10 cups of water for the 6 pound glazes and about 2-2.5 gallons of water for the 25 pound buckets. We recommend starting with less water than is needed, and using the reserve water for cleaning up during the process to reduce any waste.
.PNG)
The most common sieves in the U.S. are designed to fit in 3.5 and 5 gallon buckets so having at least one of these for mixing is helpful.
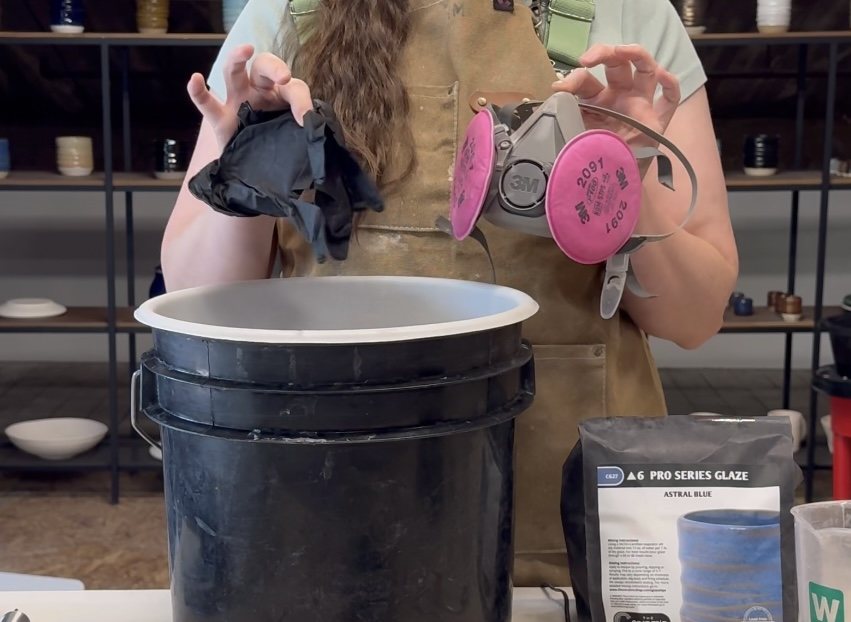
Setup: Be sure to work in a well ventilated area and wear a NIOSH certified respirator or N95.
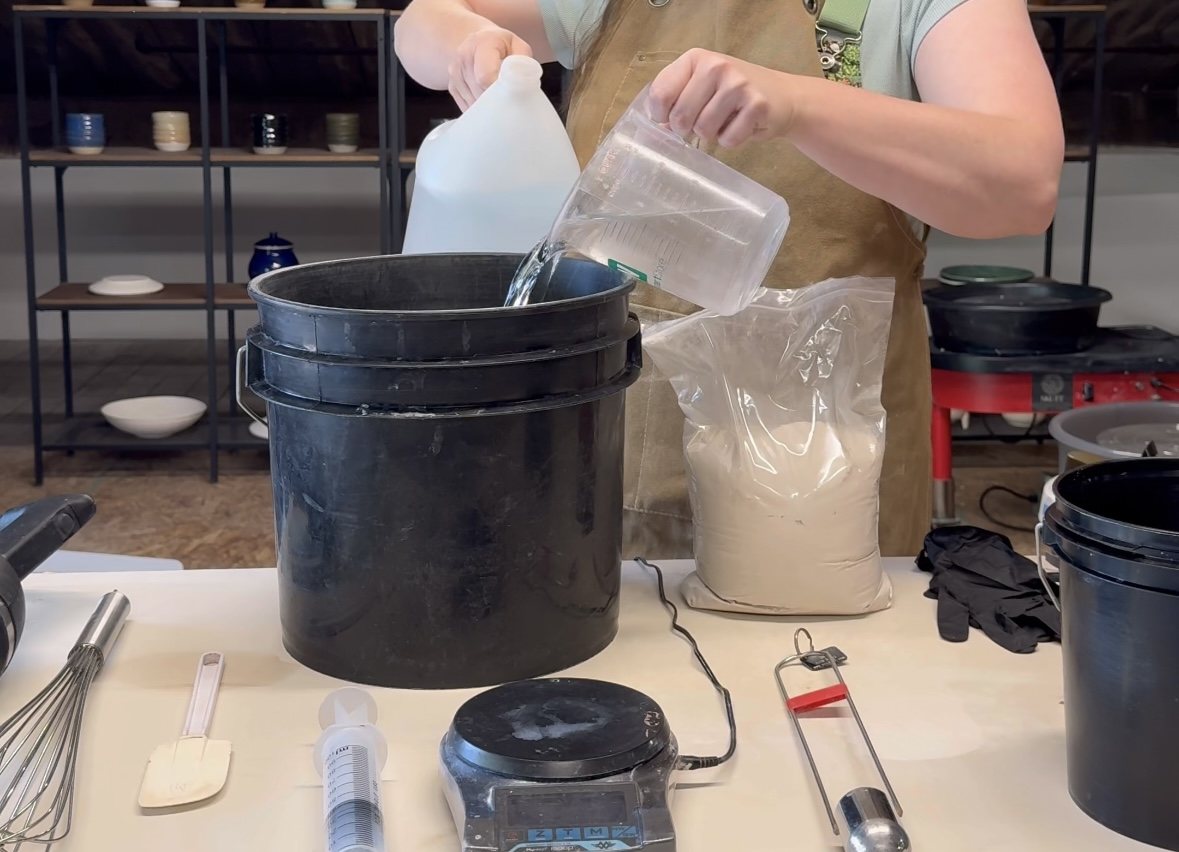
Step 1: Add the correct amount of water into the first bucket. Wearing your respirator, sift your dry glaze into the bucket. You can let the water sit for a moment, allowing the glaze to absorb the water. A drill mixer or immersion blender will make mixing much easier but a balloon whisk will work as well. Mix the glaze into the water for a few minutes or until it is as incorporated as possible. Please note that any blender needs to be dedicated for the studio and not for kitchen use.
.PNG)
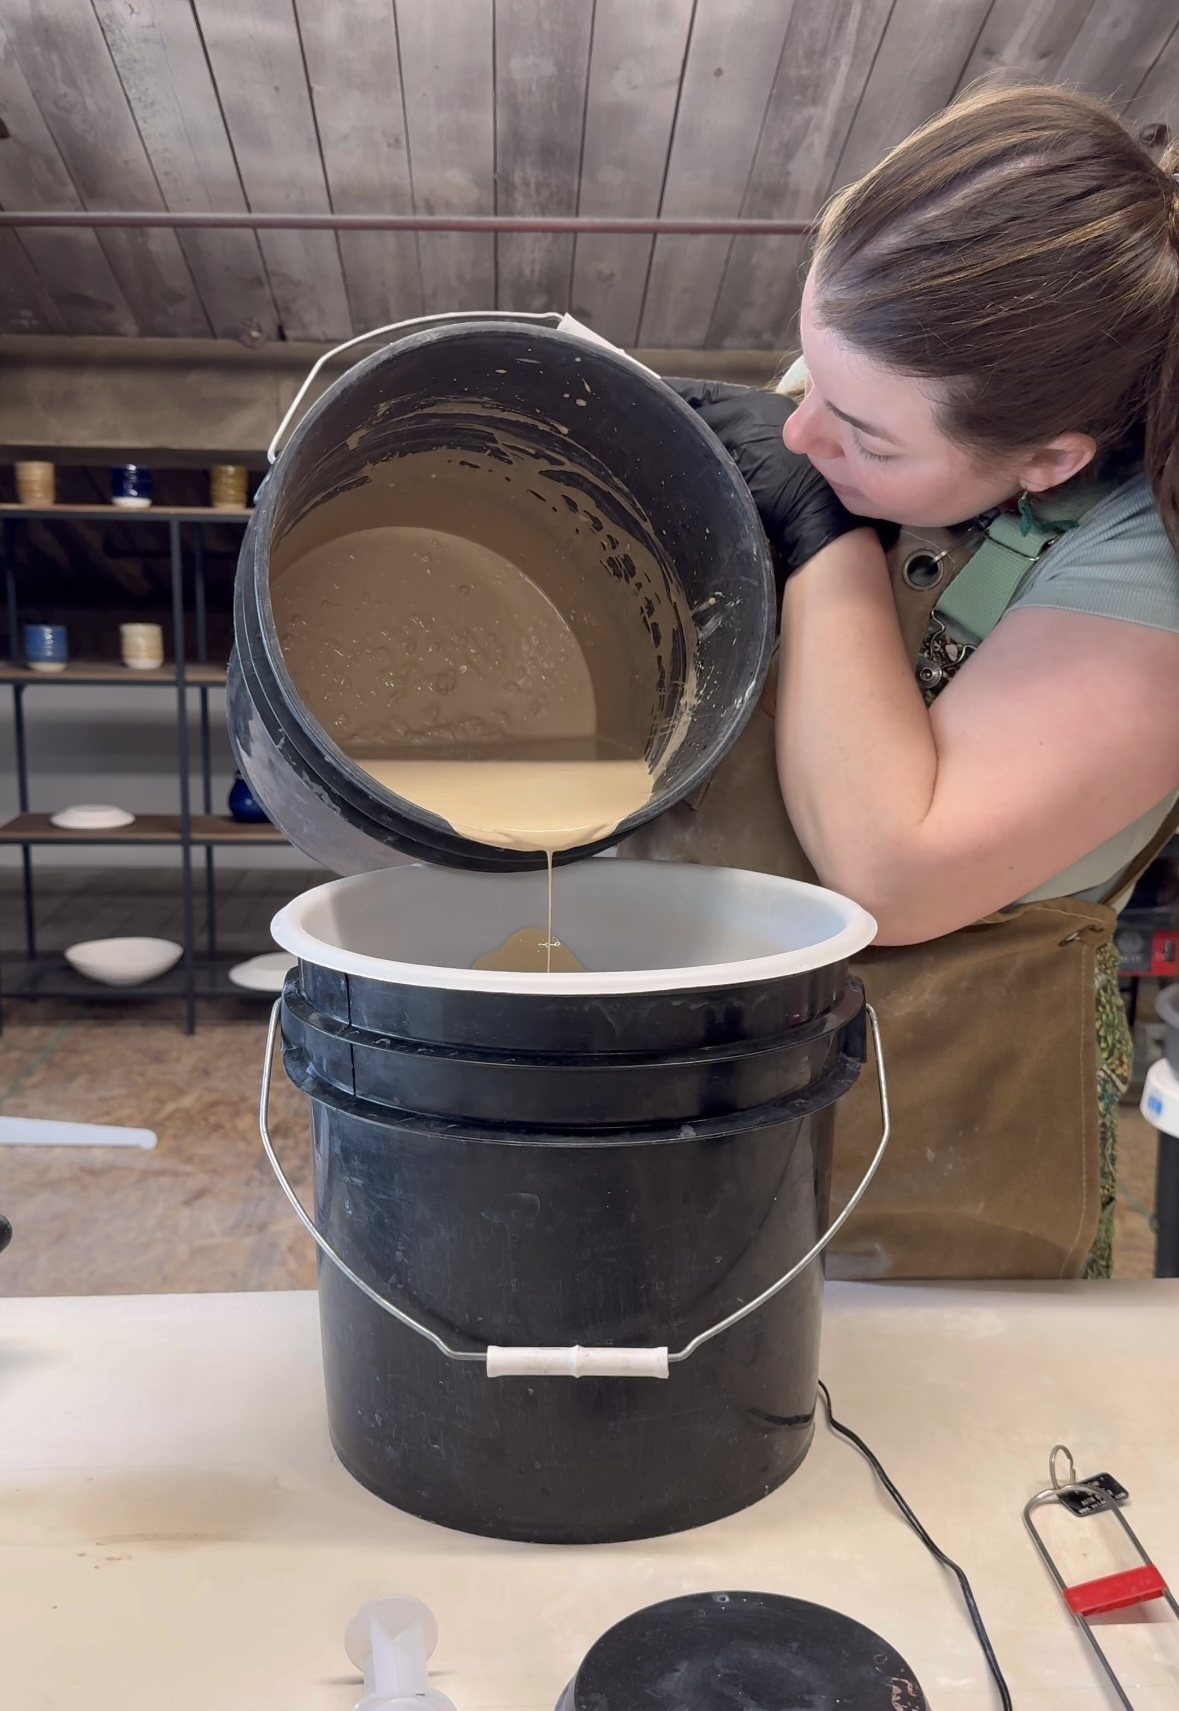
Step 2: Place the sieve on top of the second bucket. Slowly pour the glaze through the sieve stopping occasionally to push the glaze through the sieve using a spatula or a gloved hand. If the mixture is very thick or clumpy, lifting the edge of the sieve occasionally will allow air into the bucket and improve flow through the sieve. It is important to wear gloves to prevent glaze from getting in any open wounds or materials being absorbed through your skin. Gloves also protect your skin when you manually push glaze through the sieve.
Step 3: Use some reserve water to clean out the first bucket and pour through the sieve. This helps save any remaining bits of glaze that you have paid for. Be careful not to add too much water at this stage.
.PNG)
Step 4: Measure the specific gravity of the glaze using a grams scale and 100ml syringe. Tare the weight of the syringe on the grams scale. Fill the syringe past the 100 ml mark. Turn the syringe nozzle up and tap to get the air bubbles to move towards the opening. Squeeze the excess glaze and air bubbles out of the syringe until you have 100 ml in the barrel. Weigh the syringe on the scale and determine if you need more water. If glaze needs a specific gravity of 1.47 (147 grams) and the scale is reading 1.55 you need a few more ounces of water. If the Scale is reading 1.48 You need only a little bit more water. Empty the syringe into the bucket. Add the water and mix thoroughly. Repeat this step until desired specific gravity is reached. Take the time to do this part slowly as removing water is more difficult than adding it.
- If too much water is added, allow the glaze to sit overnight or over a few days. Once the material settles a bit the water sitting on top can be carefully scooped off. Repeat step 4 until correct specific gravity is reached.
- If you do not wish to measure the specific gravity of your glaze you can use the recommended specific gravity number to gauge whether you will need more or less water.
Our recommended specific gravity for each glaze can be found at www.TheCeramicShop.com/gazetips. We always recommend testing glazes on your clay for compatibility.
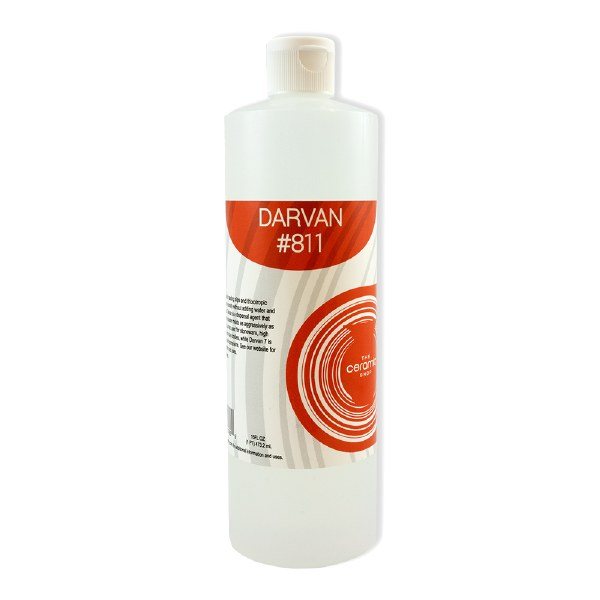
The Ceramic Shop Pro Series is made up of studio style glazes designed for dipping, pouring and spraying. We do not add additional materials to suspend the glazes or to thin them. Each glaze recipe is different and will act differently in the bucket. Glazes high in Red Iron oxide will appear to be much thicker in the bucket at the same specific gravity as a glaze with no red iron oxide. This is because RIO is Hydrophilic and continues to absorb water for a long time creating a very viscous glaze. If you have reached the recommended specific gravity and the glaze still appears to be too thick in the buck a deflocculant like Darvan can be added. Darvan is a dispersal agent and makes the glaze particles slide past one another instead of clumping together. This will make the glaze appear and act thinner without diluting the glaze too much.
There are some glazes with a high percentage of frit in the recipe. Because frit is glass that is ground down it doesn’t absorb any water. These glazes may have the tendency to settle in the bucket more readily than other recipes. If you find this to be an issue Epsom Salts can be added to the bucket. About 1 gram for every pound of glaze should work, but more can be added if desired. The principle here is the same as floating in fresh water versus salt water. Other gum additives can be added for suspension as well or to aid in brushing.
